Guides & Tips4 min read
How to Pack a Backpack
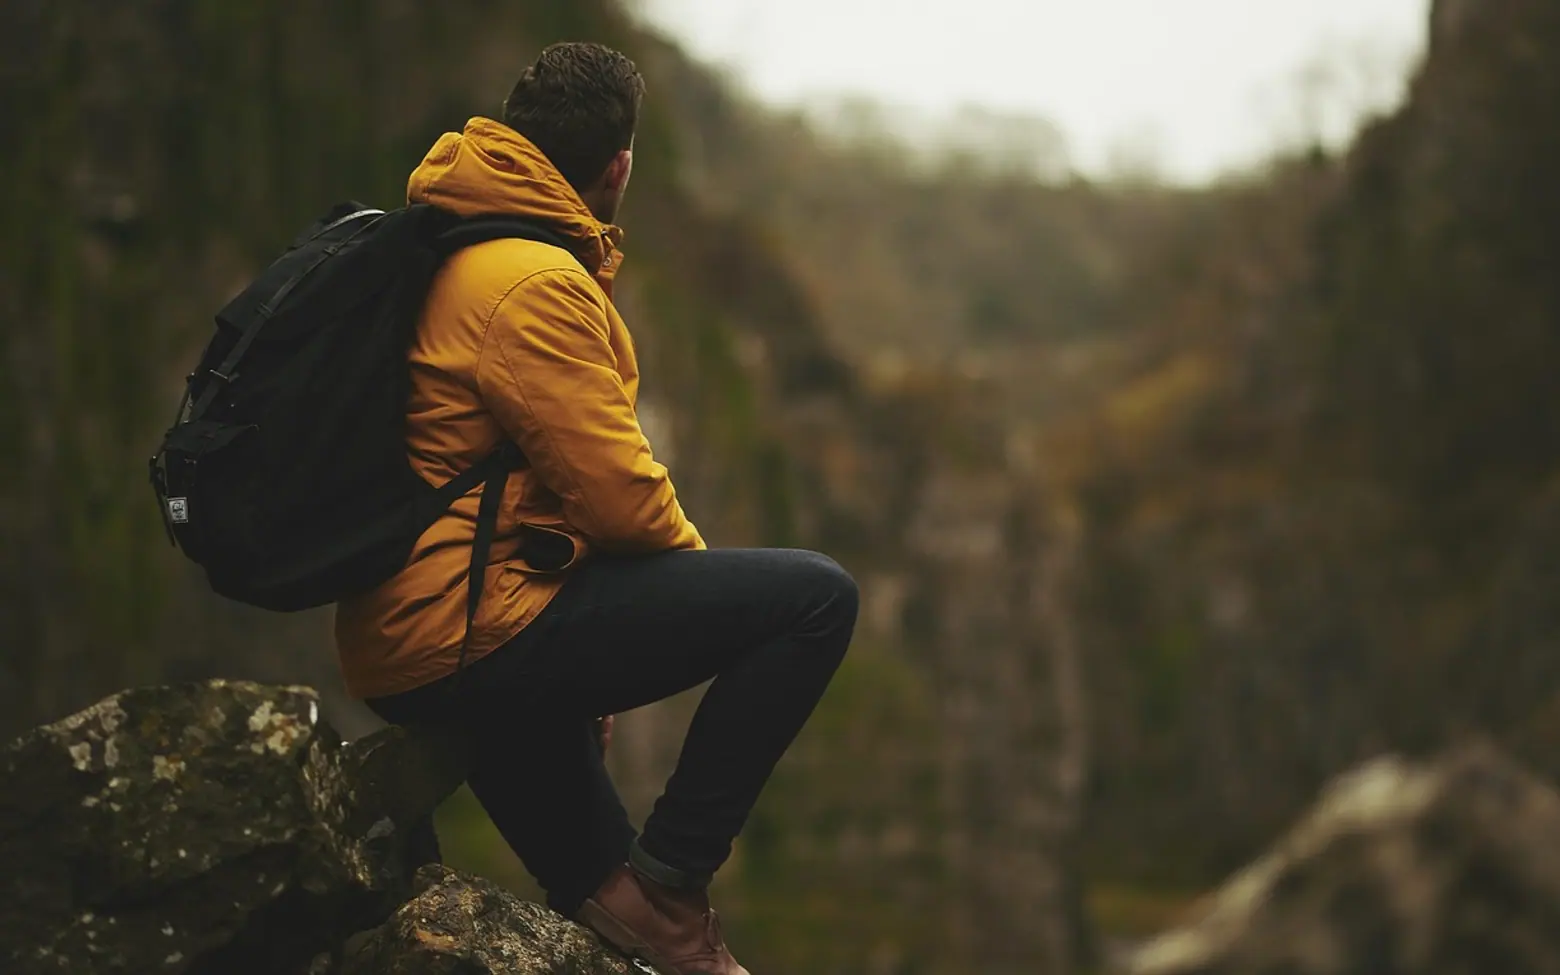
Pack a backpack in three layers. Soft, bulky things you will not need until camp go at the bottom, the heaviest items sit in the middle close to your spine, and the gear you will reach for during the day goes on top and in the pockets. Packed that way, the load rides on your hips, stays balanced and does not have to be emptied on the trail every time you want a jacket.
Before anything goes in
Lay everything out on the floor and group it: sleep, shelter, kitchen, clothes, food, water, small essentials. Seeing it all at once makes it obvious what is duplicated and what is missing. Loosen every compression strap on the pack and fit a waterproof liner inside it. A purpose-made liner or a strong rubble sack does the same job.
The three zones
| Zone | What goes there | Why |
|---|---|---|
| Bottom | Sleeping bag, sleep clothes, camp shoes | Bulky, light and not needed until evening; forms a soft base |
| Core | Food, stove, cook pot, water reservoir, tent body | Dense weight close to the spine keeps you upright |
| Top | Insulating layer, waterproofs, first-aid kit, lunch | Reachable in seconds when the weather turns |
Bottom
Push the sleeping bag right into the base and fill the corners around it with soft items. If your bag packs large, a compression sack helps; our guide to choosing a sleeping bag explains how fill type affects packed size.
Core
Place the heaviest things against the back panel, roughly between your shoulder blades and the top of your hips. Weight carried high and far from the body pulls you backwards; weight carried too low drags on the shoulders. Wrap softer gear around hard objects so nothing digs into your back, and keep fuel upright and below food in case of leaks.
Top
Finish with the layers you are most likely to need. On a changeable day the waterproof jacket should be the very last thing in.
Pockets and the outside of the pack
- Lid pocket: map, compass, head torch, sunscreen, sunglasses, snacks.
- Hip-belt pockets: phone, lip balm, something to eat while walking.
- Side pockets: water bottles, tent poles held by the compression strap.
- Front stretch pocket: wet waterproofs or a damp tent fly, kept apart from dry kit.
Strap as little as possible to the outside. Dangling items swing, snag on branches and get soaked. Trekking poles, a foam mat and an ice axe are the usual exceptions, and they should be lashed tight.
Balance and compression
Keep the load even from left to right; two full water bottles on one side will have you leaning all day. Fill gaps with small soft items so nothing shifts. When the pack is full, tighten the compression straps to pull the load in towards your back, then lift it by the haul loop and check that it stands straight and does not sag to one side.
Keeping it dry
Pack covers help in a shower but leave the back panel exposed and can blow off in wind. A liner inside the pack is more reliable, with the sleeping bag and spare clothes in their own dry bags as a second layer. More wet-weather habits are in our guide to camping in the rain.
Fitting the pack to your body
- Loosen all the straps and put the pack on.
- Fasten the hip belt so its padding sits over the top of your hip bones, and tighten it. Most of the weight should rest here.
- Pull the shoulder straps down until they sit snugly without lifting the weight off your hips.
- Adjust the load lifters, the small straps above your shoulders, until the top of the pack is drawn in towards you.
- Clip the chest strap and tighten it just enough to stop the shoulder straps sliding outwards.
Readjust during the day. Straps settle, layers come off and the food bag gets lighter.
How much should it weigh?
There is no single right number, since it depends on your build, fitness and the trip. As a general guide, lighter is kinder to knees and morale, and a pack you can lift onto your back without help is a sensible ceiling for a beginner. Weigh it at home, walk round the block and take out anything you would not miss. Long-distance walkers take this further than anyone, as the gear section of our thru-hiking explainer describes.
Common mistakes
- Putting the tent or water at the very top, which makes the pack sway.
- Burying the first-aid kit and waterproofs under everything else.
- Carrying "just in case" duplicates of clothing.
- Leaving food where it can be crushed or where fuel can leak on it.
- Skipping the test walk.
Day pack or overnight pack?
The same logic applies to a small day pack: water and heavier items against the back, spare layer and lunch on top, essentials in the lid. What to put in it for a day walk is listed in the guide to planning a hiking trip, and the full overnight kit is in the camping packing list. Once the map is in the lid pocket, it helps to know how to use it; see how to read a topographic map.
Editor’s picks
 MoviesWhy IPTV Continues to Gain Ground Across France3 min read
 MoviesIPTV in the Netherlands: Enhancing Entertainment with Innovation and Convenience3 min read
 Guides & TipsCamping in the Rain: How to Stay Dry and Enjoy It4 min read
 ActivitiesA Fresh Start: The Benefits of End of Lease Cleaning in Melbourne3 min read
Through the years
2026
2025
- The IVG Pro: Design, Consistency, and Convenience for Adult Vapers
- From Site to Sorting: How Container Services Streamline Construction Projects in Germany
- Photo Booth Hire That People Actually Use: How It Turns Moments Into Shared Stories
- Gentle Tributes, Delivered: Ordering a Funeral Bouquet From an Online Flower Shop
- Silicon and Soil: Champagne’s Quiet Tech Upgrade
2024
- Why UK-Based SEO Agencies Are Leading the Way in Digital Marketing Excellence
- From Education to Entertainment: How AI Is Reshaping Learning and Leisure
- How Automation and AI Are Revolutionizing Google Ads Campaigns
- Space-Saving Illumination: How Recessed Lighting Enhances Small Rooms
- Crafting Comfort: Customizable Options for Retractable Awnings