Activities4 min read
How to Pitch a Tent
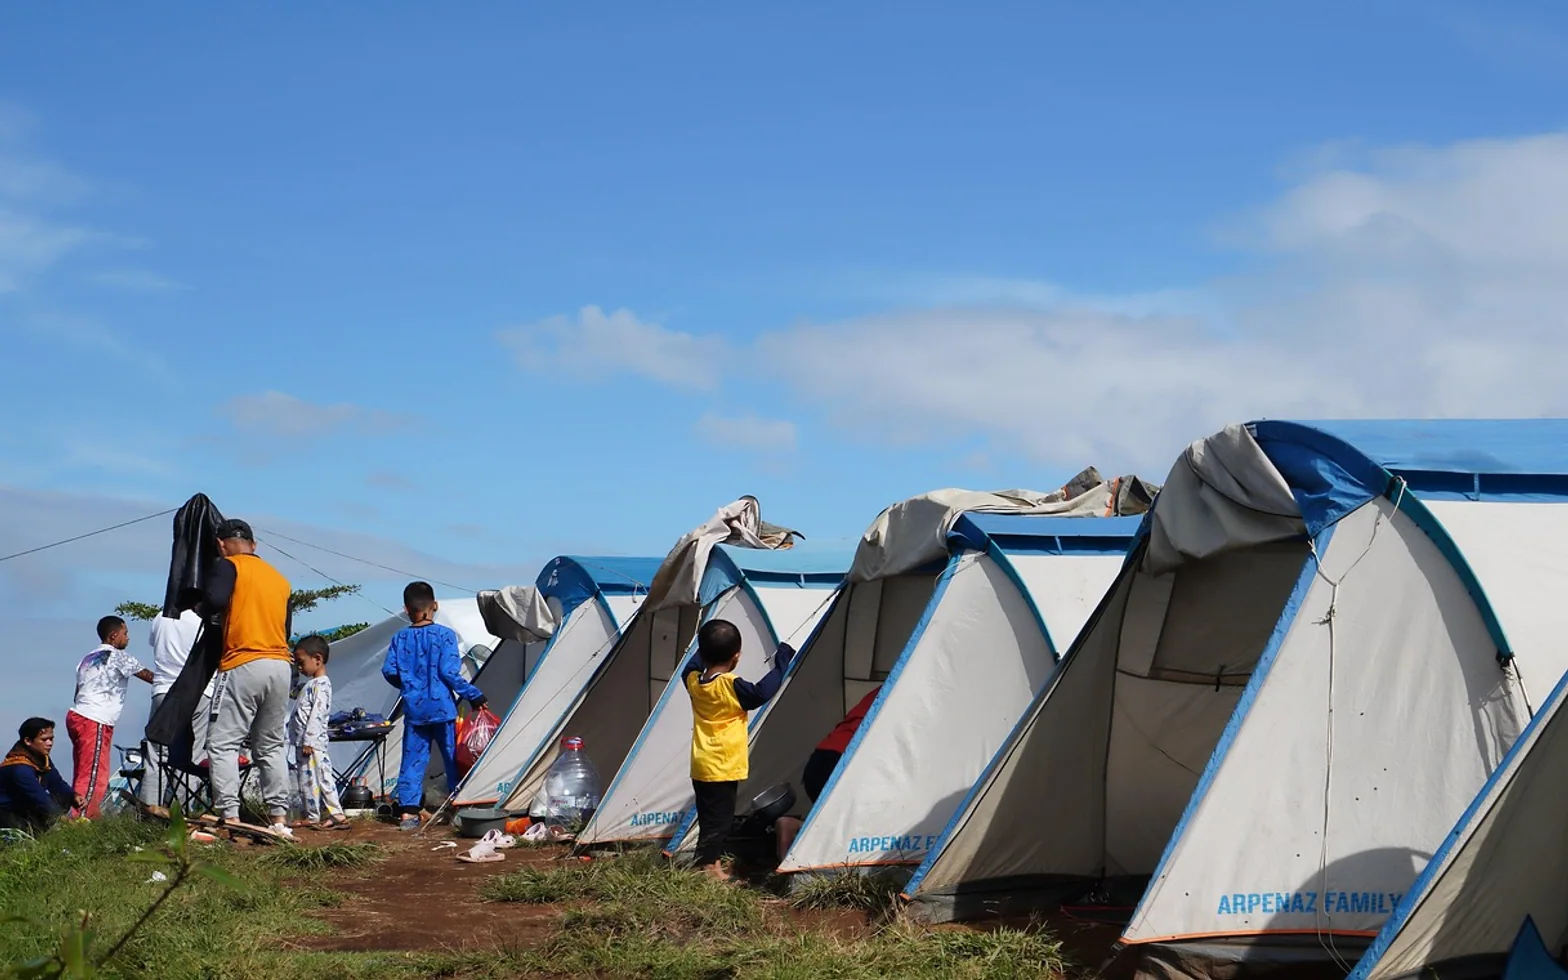
The first time you pitch a tent can feel like solving a puzzle with no picture on the box. Poles everywhere, a sheet of fabric that refuses to stay put and, often, an audience of more experienced campers. The good news is that almost every tent follows the same basic order, and once you have done it a couple of times it becomes second nature.
This guide covers a typical dome or tunnel tent. Always check your own tent’s instructions too, because designs differ in the details.
Before the trip: practise at home
Set the tent up once in a garden, yard or park before you go. You will discover whether anything is missing, how the poles fit and how long it takes. It is far easier to learn in daylight with no rain than to work it out at dusk on a windy campsite.
While you are at it, count the pegs, check the poles for cracks and make sure the zips run smoothly. Pack a couple of spare pegs and a small repair kit.
Choosing your pitch
Where you put the tent matters as much as how you put it up. Look for:
- Flat ground – a slight slope is fine if you sleep with your head uphill, but avoid anything steep.
- Higher, well-drained spots – avoid hollows and dips where rainwater collects.
- Some shelter – a hedge or a line of bushes can break the wind, but do not camp directly under trees, where branches may fall.
- Distance from hazards – keep clear of fire rings, cooking areas, water’s edge and paths.
At a campground, stay within your marked pitch and follow the site’s layout rules. Clear stones, pine cones and sticks from the area before you lay anything down.
Step-by-step pitching
- Check the wind. Note which way it is blowing. Ideally, the narrow or lower end of the tent should face into the wind and the door should face away from it.
- Lay the footprint. Spread the groundsheet or footprint where the tent will go. It should be slightly smaller than the tent floor so it does not catch rain and channel it underneath.
- Unroll the tent. Lay the inner tent (or the whole tent, if it pitches as one) on top of the footprint, with the door where you want it.
- Assemble the poles. Connect the sections carefully, making sure each joint is fully seated. Do not let them snap together, as that can damage the ends.
- Attach the poles. Thread them through the sleeves or clip them to the hooks, following any colour coding. Then flex the poles and seat their ends in the corner grommets or pins. The tent will rise into shape.
- Peg the corners. Pull each corner gently outwards so the floor is smooth, and push the pegs in at roughly a forty-five-degree angle, leaning away from the tent. Use a mallet or a flat rock if the ground is hard.
- Add the flysheet. If your tent has a separate fly, drape it over the frame, line up its door with the inner door, and fasten it to the corners.
- Stake out the guylines. Pull each guyline out in line with the seam it is attached to and peg it down. Adjust the tensioners until the fabric is taut and does not touch the inner tent.
Getting the tension right
A well-pitched tent looks smooth, without deep wrinkles or flapping panels. Walk around it and adjust each guyline and corner a little at a time. A taut fly sheds rain and wind far better, and keeping a gap between the fly and the inner tent helps reduce condensation.
Fabric can loosen as it cools and gets damp in the evening, so check the tension again before bed and after heavy rain.
Pitching in wind or rain
In wind
Peg the windward side first so the tent cannot turn into a kite. Keep the tent low until it is anchored, and work with a partner if you can.
In rain
If your tent allows the flysheet to go up first or together with the inner, use that method to keep the inside dry. Have a towel ready to wipe the floor, and keep wet gear in the porch rather than the sleeping area.
Safety around the tent
- Never cook or use a stove, heater or lantern with an open flame inside the tent. Fumes and fire are serious risks in a closed space.
- Keep the tent well away from campfires and barbecues, and check the site’s fire rules before lighting anything.
- Mark guylines with something reflective or light-coloured so no one trips in the dark.
- Store food outside the tent, sealed and away from where you sleep.
If a fire is allowed where you are staying, read our guide on how to build a campfire safely before you set one.
Packing down
Packing up is the same process in reverse. Remove the guylines and fly, take out the poles by pushing rather than pulling them through the sleeves, then pull the pegs and count them.
If the tent is wet when you leave, pack it loosely and dry it fully at home within a day or so. Storing a damp tent invites mould and smells. Once it is dry, fold it slightly differently each time so the creases do not wear the fabric in the same places.
Practice makes it easy
By your third or fourth trip, pitching will take a few relaxed minutes rather than a stressful half-hour. And when the tent is up, it is time to think about sleep: see our guide to choosing a sleeping bag.
Editor’s picks
 MoviesWhy IPTV Continues to Gain Ground Across France2 min read
 MoviesIPTV in the Netherlands: Enhancing Entertainment with Innovation and Convenience2 min read
 ActivitiesA Fresh Start: The Benefits of End of Lease Cleaning in Melbourne3 min read
 GamesMinecraft, Still Popular in 2025? Why the Answer Is Yes2 min read
Through the years
2026
2025
- The IVG Pro: Design, Consistency, and Convenience for Adult Vapers
- From Site to Sorting: How Container Services Streamline Construction Projects in Germany
- Photo Booth Hire That People Actually Use: How It Turns Moments Into Shared Stories
- Gentle Tributes, Delivered: Ordering a Funeral Bouquet From an Online Flower Shop
- Silicon and Soil: Champagne’s Quiet Tech Upgrade
2024
- Why UK-Based SEO Agencies Are Leading the Way in Digital Marketing Excellence
- From Education to Entertainment: How AI Is Reshaping Learning and Leisure
- How Automation and AI Are Revolutionizing Google Ads Campaigns
- Space-Saving Illumination: How Recessed Lighting Enhances Small Rooms
- Crafting Comfort: Customizable Options for Retractable Awnings