Activities4 min read
How to Build a Campfire Safely
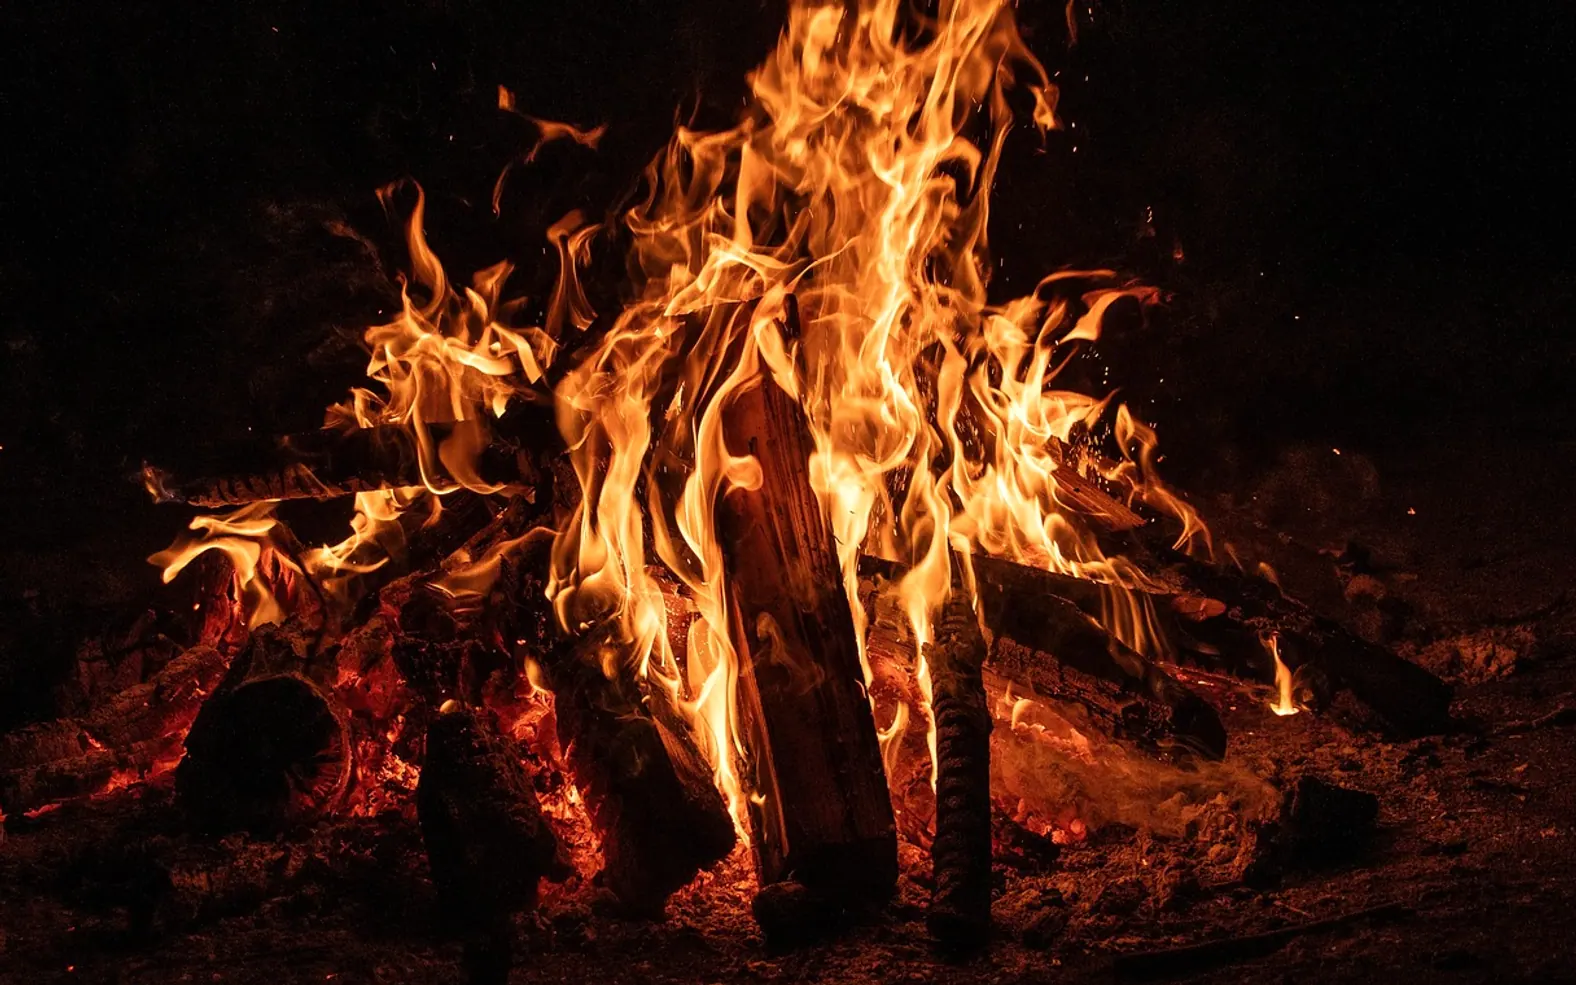
Few things feel more like camping than a small fire crackling as the light fades. It warms your hands, boils water and gives everyone a natural place to gather. It also carries real responsibility. A fire that is built carelessly or left to smoulder can spread far beyond the ring of stones, so the craft of a campfire is as much about safety as about flames.
This guide covers the whole process, from checking whether a fire is allowed to leaving the site cold and clean.
Step one: check that fires are allowed
Before you pack a single match, find out the current rules where you are going. Campgrounds, parks and public lands often set their own fire policies, and these can change at short notice during dry or windy spells. Some areas allow fires only in provided rings or grills, some ban them for part of the year, and some allow camp stoves but no open flames at all.
Check the campground notice board or the land manager’s announcements, and ask staff when you arrive. If a fire ban is in place, respect it without exception. A stove and a warm layer will see you through the evening just as well.
Step two: choose the right spot
Where an existing fire ring or metal grill is provided, use it. It keeps the impact in one place and is usually positioned with safety in mind. If you are somewhere that allows fires without a ring, look for:
- Bare soil, sand or gravel, well away from tents, gear and vehicles
- No overhanging branches above the fire
- Shelter from strong wind
- Distance from dry grass, leaf litter and roots
Clear loose debris from around the area and keep a bucket of water and a shovel or trowel within easy reach before you strike the first match.
Step three: gather three kinds of fuel
A fire needs fuel in stages, and having all three ready before lighting makes the difference between a steady flame and a frustrating cloud of smoke.
- Tinder – very fine, dry material that catches a spark or match easily: dry grass, birch bark shavings, wood shavings or a commercial fire starter.
- Kindling – small sticks, roughly from matchstick to finger thickness, that take the flame from the tinder.
- Fuel wood – larger pieces, about wrist thickness, that keep the fire going.
Many sites ask you to use only dead, fallen wood, or to buy local firewood rather than bringing logs from far away, which can carry pests to new areas. Never cut live trees or strip branches from standing ones.
Step four: pick a fire lay
There are several classic ways to arrange the wood. Two are especially easy for beginners.
The teepee
Place a loose bundle of tinder in the centre. Lean kindling around it in a cone, leaving a gap on the side the breeze comes from so you can reach in to light it. As the kindling catches, lean a few thicker sticks against the cone. The teepee lights quickly and throws good heat.
The log cabin
Build a small teepee, then stack pairs of sticks around it in alternating layers, like a tiny cabin. This lay burns more evenly and makes a good bed of coals for cooking.
Step five: light it and keep it small
Light the tinder low down on the windward side and let the flame climb into the kindling. Blow gently at the base if it struggles. Add fuel gradually, one or two pieces at a time; smothering a young fire with big logs is the most common reason it dies.
A small fire is easier to control, uses less wood and is plenty for warmth and cooking. A few habits keep it that way:
- Never use petrol or other accelerants to start or revive a fire.
- Keep children and pets at a safe distance, and set a clear boundary around the ring.
- Do not leave the fire unattended, even for a short walk.
- Let the fire die down early if the wind picks up.
Cooking over the fire
For cooking, the coals matter more than the flames. Let the fire burn down to a glowing bed, then use a grill grate or a sturdy pan. Long tongs and heat-resistant gloves save fingers. Keep food packed away when you are finished so it does not draw wildlife into camp.
Step six: put it out completely
A fire is not out until every ember is cold. Plan to start putting it out well before you go to bed or leave the site.
- Let the wood burn down to ash where possible.
- Drown the fire with plenty of water, not just a splash.
- Stir the ashes and embers with a stick or trowel, turning over any half-burnt pieces.
- Drown it again.
- Feel carefully with the back of your hand held close above the ashes. If you sense any warmth, repeat the process.
Where water is scarce, mix in soil or sand and stir thoroughly, but never simply bury hot coals, as they can keep smouldering underground.
Leave the site better than you found it
Pack out any rubbish, including food scraps and foil. Do not try to burn plastics or cans. If you built a temporary fire spot on bare ground, scatter the cold ashes and return the surface to how it looked. The next people to camp there should barely know you were there.
Once the fire is sorted, the rest of a good evening comes down to shelter and sleep. Our step-by-step guide on how to pitch a tent is a natural next read.
Editor’s picks
 MoviesWhy IPTV Continues to Gain Ground Across France2 min read
 MoviesIPTV in the Netherlands: Enhancing Entertainment with Innovation and Convenience2 min read
 ActivitiesA Fresh Start: The Benefits of End of Lease Cleaning in Melbourne3 min read
 GamesMinecraft, Still Popular in 2025? Why the Answer Is Yes2 min read
Through the years
2026
2025
- The IVG Pro: Design, Consistency, and Convenience for Adult Vapers
- From Site to Sorting: How Container Services Streamline Construction Projects in Germany
- Photo Booth Hire That People Actually Use: How It Turns Moments Into Shared Stories
- Gentle Tributes, Delivered: Ordering a Funeral Bouquet From an Online Flower Shop
- Silicon and Soil: Champagne’s Quiet Tech Upgrade
2024
- Why UK-Based SEO Agencies Are Leading the Way in Digital Marketing Excellence
- From Education to Entertainment: How AI Is Reshaping Learning and Leisure
- How Automation and AI Are Revolutionizing Google Ads Campaigns
- Space-Saving Illumination: How Recessed Lighting Enhances Small Rooms
- Crafting Comfort: Customizable Options for Retractable Awnings